

Removing Mould: What Works, and Why Bleach Usually Isn't It
By IdentifyThese Editorial · · 4 min read · updated August 2026
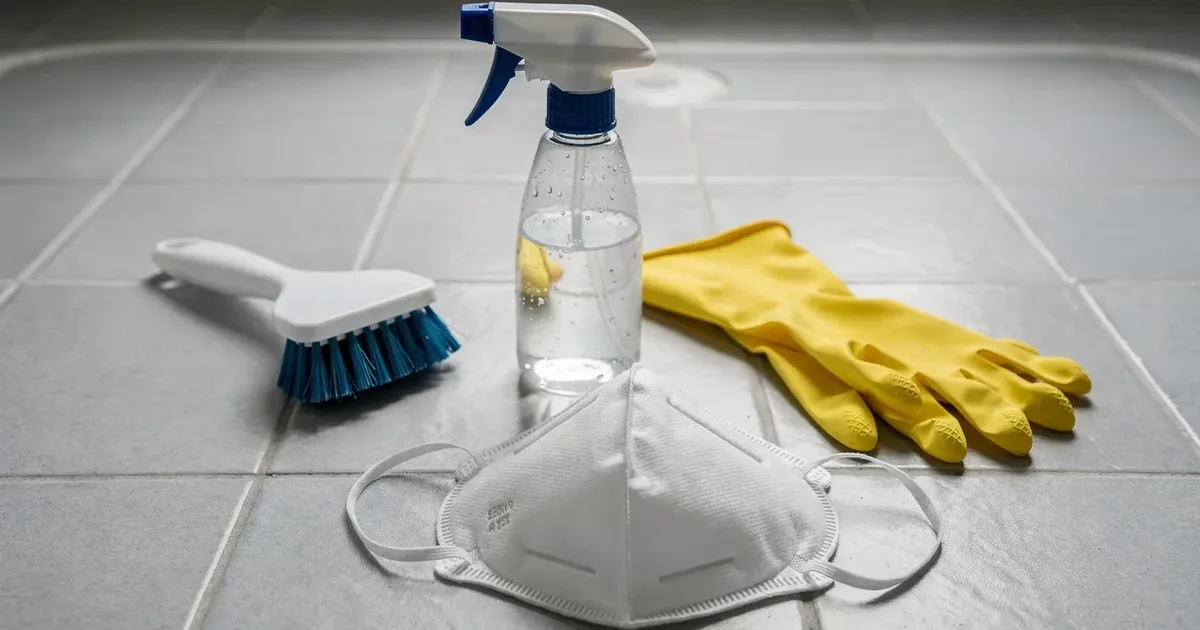
The core of mould removal is not the cleaning. It is that mould without moisture does not persist — so the question that decides whether your effort works is where the water is coming from.
Step one, before anything else: find the water
Growth that returns within weeks of cleaning is not evidence of stubborn mould. It is evidence that you removed the colony and left the conditions.
Common sources, roughly in order of how often they turn out to be the answer — and where in the house each one shows up:
- Inadequate ventilation. Bathrooms and kitchens. If a fan is not vented outside — some vent into the loft, which just relocates the problem — it is doing nothing.
- Condensation on cold surfaces. Windows, external walls, cold-water pipes. The air is not too humid in absolute terms; the surface is simply below the dew point.
- Slow leaks. Under sinks, behind dishwashers and washing machines, at toilet bases, in roof valleys.
- Ground moisture. Bare earth in crawl spaces evaporates a surprising quantity of water into the structure above.
- Humidity generally. Below 50% relative humidity, most indoor mould cannot establish. A dehumidifier and a cheap hygrometer resolve a lot of basement problems.
Step two: decide what can be cleaned and what must go
This is the distinction that decides most jobs.
Can be cleaned: hard non-porous surfaces — tile, glass, metal, sealed countertops, solid plastic, painted surfaces in sound condition.
Should usually be removed: porous materials that have been wet for more than about 48 hours — plasterboard, carpet and underlay, ceiling tiles, insulation, upholstered furniture, cardboard.
The reason is structural: the growth is not sitting on the surface of those materials, it is inside them. Cleaning the face of a piece of mouldy plasterboard leaves the colony in place.
Grout and sealant sit awkwardly between the two. Grout is porous and staining often persists even after the growth is dead. Silicone sealant with growth beneath the surface generally needs cutting out and replacing — no cleaner reaches it.
Step three: what to use
Detergent and water, with mechanical scrubbing. This is the recommendation of most public health guidance for routine cleaning, and it works because the physical removal is what matters.
Bleach is the folk default and is more limited than its reputation:
- It works on hard non-porous surfaces.
- On porous material it performs poorly — the chlorine stays on the surface while the water carried with it soaks in, which can leave the material wetter than before.
- It removes the stain effectively, which is why it feels like it works even when the colony survives.
- Never mix it with ammonia or other cleaners. The resulting chloramine gas is genuinely dangerous, and this kills people every year.
Hydrogen peroxide at 3% and white vinegar both have reasonable evidence and are gentler and safer to use in a small enclosed bathroom. Vinegar is less effective on some species but does not produce hazardous fumes and does not bleach fabrics.
Borax is effective and does not off-gas.
Step four: protect yourself while doing it
Cleaning disturbs a colony and puts a large number of spores into the air at once.
- N95 respirator — a surgical mask does not filter spores.
- Gloves, ideally long ones.
- Eye protection without ventilation holes.
- Ventilate the room, but close doors to the rest of the house so you are not distributing spores through it.
- Bag material as you remove it rather than carrying it through the house uncovered.
Step five: dry it properly
Drying is part of the remediation, not the cleanup afterwards. Material that is cleaned and then left damp will simply be recolonised.
Run fans and a dehumidifier for a couple of days, and confirm the surface is genuinely dry rather than assuming it. This is the step most commonly skipped.
Where the DIY limit sits
Call someone for:
- More than roughly 10 square feet.
- HVAC systems and ductwork. Cleaning them yourself distributes spores through the whole building.
- Anything following sewage or flood water, which brings a contamination problem beyond mould.
- Households with someone immunocompromised, on immunosuppressants, or with a significant lung condition.
- Growth you can smell but cannot find, which usually means it is inside a wall cavity.
What not to bother with
- Routine species testing. The action does not change with the answer. Testing is useful for disputes and insurance, not for deciding how to clean.
- Ozone generators. They are marketed for mould and are ineffective against it at safe concentrations, while producing a lung irritant at unsafe ones.
- Painting over it. Mould-resistant paint helps prevent growth on a clean dry surface. Applied over an existing colony it hides it briefly and changes nothing.
- "Encapsulation" as a first resort. Sealing growth in is a technique with narrow legitimate uses and is often sold as a shortcut around removal.
Types referenced
The species matters less than you think
- Public health guidance is to remove all indoor mould regardless of type. The CDC and EPA do not recommend routine species testing for ordinary households, because the response does not change: find the water, stop it, remove the growth.
- “Toxic black mould” is a marketing phrase, not a category. Stachybotrys is real and does need soaked material to grow, so finding it tells you something useful about your building. But the health effects that are well established — allergy, asthma aggravation, irritation — are not specific to it.
- Mould without water does not persist. Cleaning growth while leaving the moisture source is why it comes back. The leak, the condensation or the ventilation is the actual problem.
Call a professional for areas larger than about 10 square feet, for anything in HVAC ductwork, after sewage or flood water, or if anyone in the household is immunocompromised or has a lung condition.
Keep reading
- Toxic Black Mould: What the Evidence Actually SaysStachybotrys is real, produces mycotoxins, and needs soaked material to grow. What it is not is a separate category of danger requiring a different response.
- Is It Even Mould? Four Things That Aren'tWhite crust on basement walls, pink slime in the shower, black lines on the ceiling — three of the most common mould reports are not mould. Each has a ten-second test.