
Drooping After Repotting: What Is Normal and What Is Not
By IdentifyThese Editorial · · 3 min read
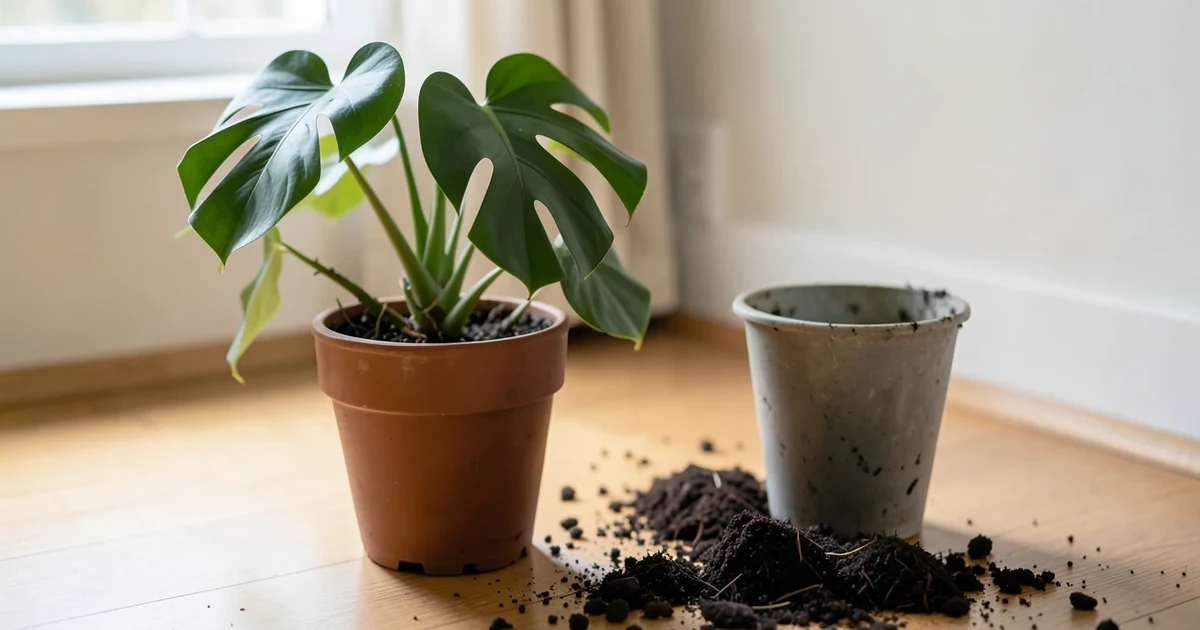
A plant droops after repotting because it has fewer functioning roots than it had that morning. Not because it is unhappy about the pot, and not because it needs anything.
The fine root hairs that do essentially all the water uptake are microscopic and fragile. Loosening a root ball destroys a large fraction of them, and the plant is left with leaf area sized for a root system it no longer has.
Then it drops leaf pressure to match. That is the drooping.
The normal course
| Time | What you should see |
|---|---|
| Hours 0–48 | Drooping, sometimes dramatic. Worst on large-leaved plants |
| Days 2–7 | Stabilising. No further collapse; maybe one or two lower leaves lost |
| Days 7–14 | Turgor returning, usually in the newest leaves first |
| Weeks 3–6 | New growth resumes |
The sign to watch for is no further deterioration. A plant that drooped on Monday and is drooping the same amount on Thursday is recovering, even though nothing looks better yet. Roots regrow before leaves respond.
What makes it worse
Almost everything people do.
- Watering more. The roots are not absorbing. Extra water sits in the pot and starts rot in tissue already damaged.
- Fertilising. Salts pull water out of roots by osmosis, exactly backwards from what is needed.
- Moving it to brighter light "to help it recover". Higher light means higher transpiration demand on a plant that cannot supply it.
- Repotting again because it looks unhappy. Every disturbance restarts the clock.
- Potting up too far. A pot much larger than the root ball holds wet soil the roots cannot reach, and that soil stays wet. One size up is the rule.
What helps
- Shade or reduced light for a week. Lowers water demand while the roots rebuild.
- Even moisture, not wet. Water thoroughly once at repotting, then only when the top few centimetres dry.
- Higher humidity for a thin-leaved plant, which reduces the transpiration deficit directly.
- Reducing leaf area, but only for a badly root-damaged plant — removing a few of the largest leaves rebalances supply and demand. This is standard for bare-root transplants and rarely needed for a gentle repot.
- Waiting. Genuinely the main intervention.
When it is not transplant shock
Some things that look like shock are not, and the distinction is the reason to check rather than simply wait.
Root rot introduced at repotting. If the old soil was soggy or the roots were already brown and mushy, repotting did not cause the problem and will not fix it. Slide the plant out and look — firm pale roots mean shock; brown, soft roots whose skin slides off mean rot. Wilting despite watering covers what to do from there.
Wrong soil. A moisture-retentive mix on a succulent, cactus or orchid keeps the roots wet indefinitely. The plant declines slowly rather than drooping and recovering.
Buried too deep. Planting a stem below its original soil line rots the buried section. Check the old soil mark on the stem.
A pot with no drainage. Water accumulates at the base with nowhere to go. Decorative cachepots without holes are the common version of this, particularly when the plant sits directly in one rather than in an inner pot.
Cold shock. Fresh potting mix stored in a shed in winter can be near freezing. Let it warm.
Outdoor transplants
The same physiology, but the window is longer and the stakes are higher because you cannot control the conditions.
- Transplant in the evening or on an overcast day, never in midday sun.
- Water in thoroughly once to settle soil around the roots and eliminate air pockets.
- Shade for a few days if it is hot — a propped board is enough.
- Do not fertilise at planting. Starter fertiliser on damaged roots is a common piece of advice and a poor one.
Trees and shrubs can take a full season to re-establish, and a newly planted shrub that looks miserable in its first August is usually not dying. It is behaving exactly as expected, and the same watering judgement applies: check the soil, not the leaves.
Problems referenced
Check these two things first
- Push a finger into the soil, two knuckles deep. Wet soil plus a wilting plant means too much water, not too little — and it is the commonest reason a plant is dying. Dry soil plus crisp leaves means the opposite. The leaves look nearly identical either way, so the soil is what tells you.
- Turn a damaged leaf over. Half of all diagnoses live on the underside: fuzz means downy mildew, fine webbing means spider mites, clusters of insects mean aphids. Nothing on the top of a leaf is as informative.
Most garden problems are cosmetic and resolve without treatment. Reach for a spray last, not first.
Keep reading
- Wilting Even Though You Watered ItA plant wilting in wet soil has a supply problem, not a water problem. Root rot, vascular wilt and stem borers each leave a different mark.
- Crispy Brown Leaf Tips, and What They Are NotBrown tips are almost always humidity, salt build-up or tap water chemistry. They are almost never disease, and the pattern of browning says which.
- Root Rot, Caught Early Enough to MatterAbove ground it looks exactly like drought. The difference is in the pot, and checking takes two minutes.